I made some simple flowers using an old tablecloth and wanted to share how easy they are to make.
Hice unas florecitas simples usando un mantel viejo y quería compartir lo fáciles que son de hacer.
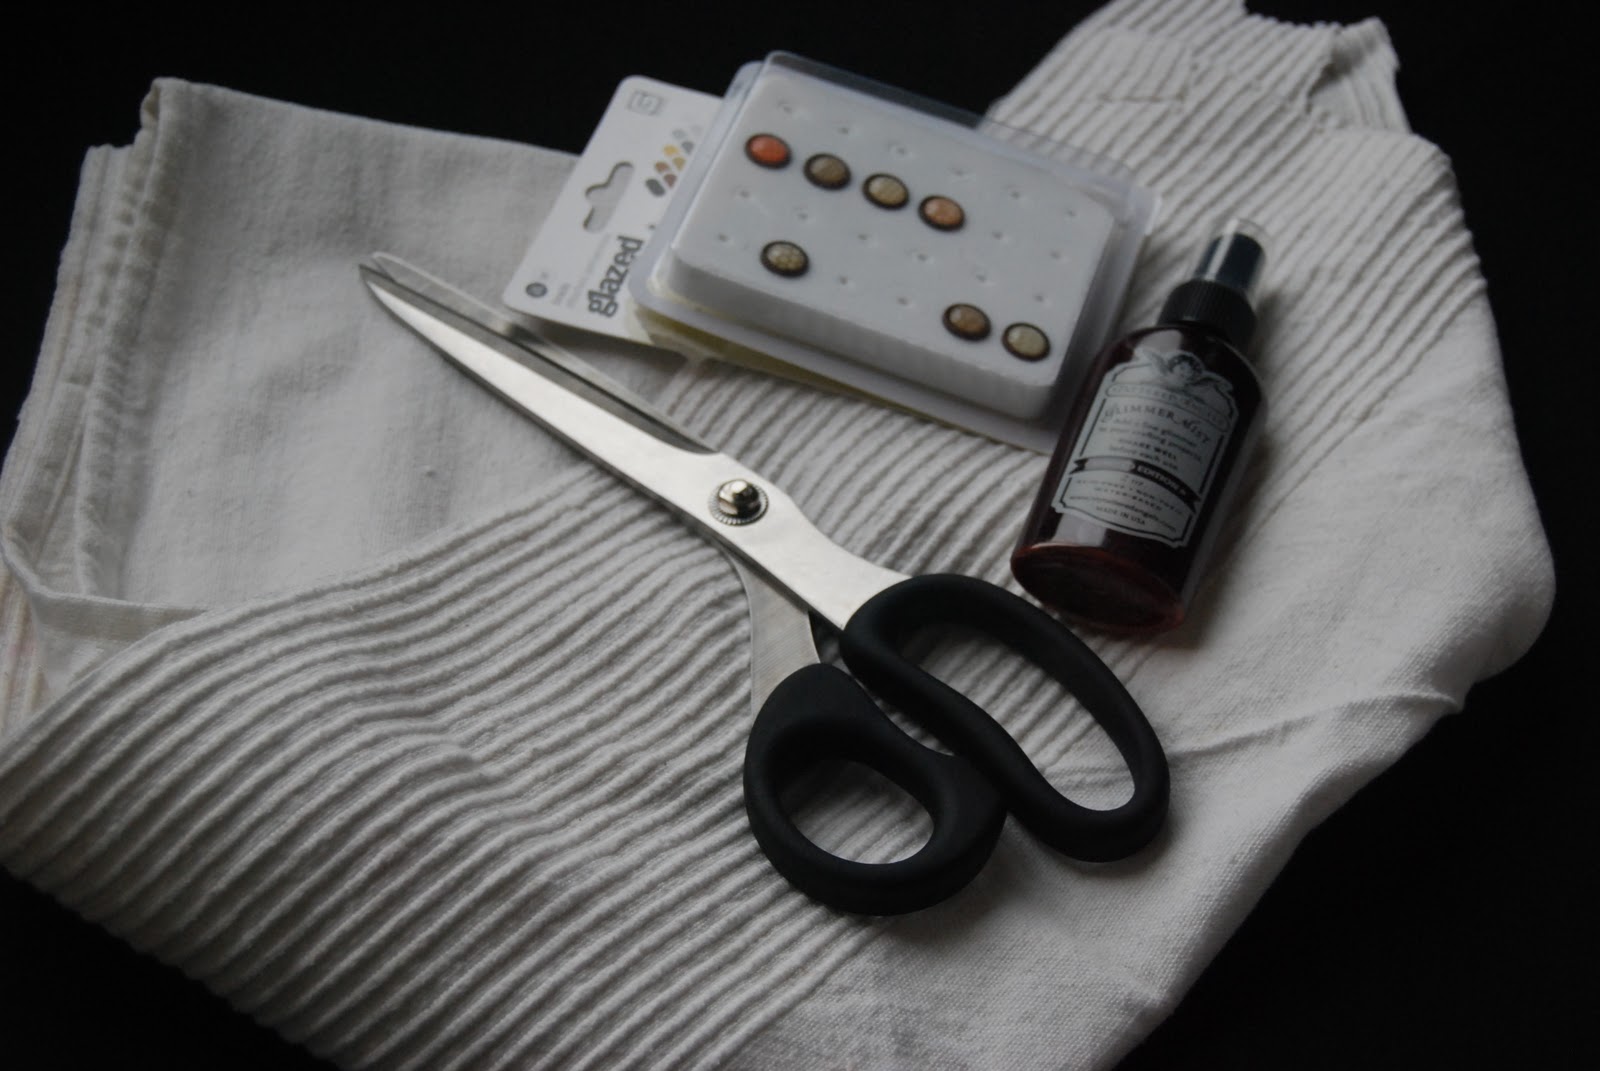
You need fabric, scissors, brads and spray ink (if you want to change color).
My fabric is almost white and that's what I needed, but I painted a few just to have some extra for another project, so you can start with a fabric that's the color or pattern you want in your flower or start with a light color that you can alter later. I used a thick cotton with two kinds of textures, so that also adds a different touch to this "raw" flowers.
Necesitas tela, tijeras, brads y tinta en spray (si le quieres cambiar el color).
Mi tela es casi blanca y eso era lo que necesitaba, pero quise pintar algunas para tener unas extra para otro proyecto, se puede comenzar con el color o estampado que queramos o con una tela clarita para luego pintarla como queramos. Utilicé una tela de algodón gruesa y con dos tipos de texturas, eso también le da un toque a estas flores "crudas".
Start cutting several circles, I prefer to do it free hand as it gives a more distressed look.
Comienza por cortar varios círculos, yo prefiero hacerlo a mano alzada para que los bordes no se vean rígidos.
You need to cut different sizes. I cut a small one, then used it as template to cut a bigger one and so on.
Necesitas cortar varios tamaños. Yo corté uno pequeño y luego lo usé como plantilla para cortar uno más grande, y así con los siguientes.
Then I used glimmer mist to add color to a few circles.
Luego utilicé un poco de glimmer mist para agregarle color a algunos de los círculos.
Choose 3 or 4 circles, starting from a small one and increasing the size of them and put a brad in the center, in my case it was easy to poke the fabric with the brad, but in other types of fabric you might need cut cut a very small slit.
Escoge 3 o 4 círculos, comineza por el más pequeño y luego agrega otro incrementando su tamaño y ponle un brad en el centro, en mi caso fue muy fácil pasar el brad, pero en otros casos se necesita hacer una pequeña abertura.
Layer the circles as you wish, and play with the color of the brad to match with your project.
Ve sobreponiendo los círculos como te guste y juega con el color de los brads para combinarlo con tu proyecto.
I pulled some threads to fray a bit some of the edges.
Le halé algunos hilos para deshilachar varios bordes.
These flowers are not bulky but they have lots of texture, so they are perfect for a scrapbooking layout.
Estas flores no tienen mucho volumen pero poseen mucha textura, así que son perfectas para una página de scrap.
They also look cute on a hairband or hair clip.
También se ven muy lindas en un cintillo o diadema, o en un gachito de pelo.
Here are some layouts I made with these flowers.
Aquí les muestro algunas páginas que hice con estas flores.