Tuesday, November 29, 2016

All I want is YOU card. Up & Scrap Challenge/Reto: Face to face


I´m joining the Up&Scrap challenge again, for the month of November they decided use one of Jennifer McGuire´s techniques, the challenge it’s called: Face to face. I couldn´t resist playing along because I love Jennifer´s work, I´ve been following her for over 8 years, she is amazing.
Decidí unirme nuevamente al reto de Up & Scrap, para el mes de noviembre escogieron usar una de las técnicas de Jennifer McGuire, el desafío se llama: Face to face. No pude resistirme a participar porque me encanta el trabajo de Jennifer, la he seguido por más de 8 años, es increíble.

The idea was to use Jennifer´s cards as inspiration and it had to be related to Christmas. For my project I decided to make cards because Jennifer´s technique produces more than one card, and during this time of the year I try to make as many Christmas cards as possible, so I have enough to give away and to sell a few.
La idea era usar las tarjetas de Jennifer como inspiración y tenía que estar relacionado con la Navidad. Para mi proyecto decidí hacer tarjetas porque con la técnica de Jennifer se hacen más de una, y durante esta época del año intento hacer tantas tarjetas de Navidad como sea posible, así que tendré suficiente para regalar y vender algunas.

Digging through my Christmas papers I found a cute double sided patterned paper, and decided to use both sides as they matched perfectly.
Revisando mis papeles de Navidad encontré un lindo papel doble cara, y decidí usar ambos lados ya que combinan perfectamente.
I cut some strips of the paper and I used them as the two pieces that form the main panel, and since I don´t have a stamp-positioning tool I fixed the two pieces together with some masking tape. 
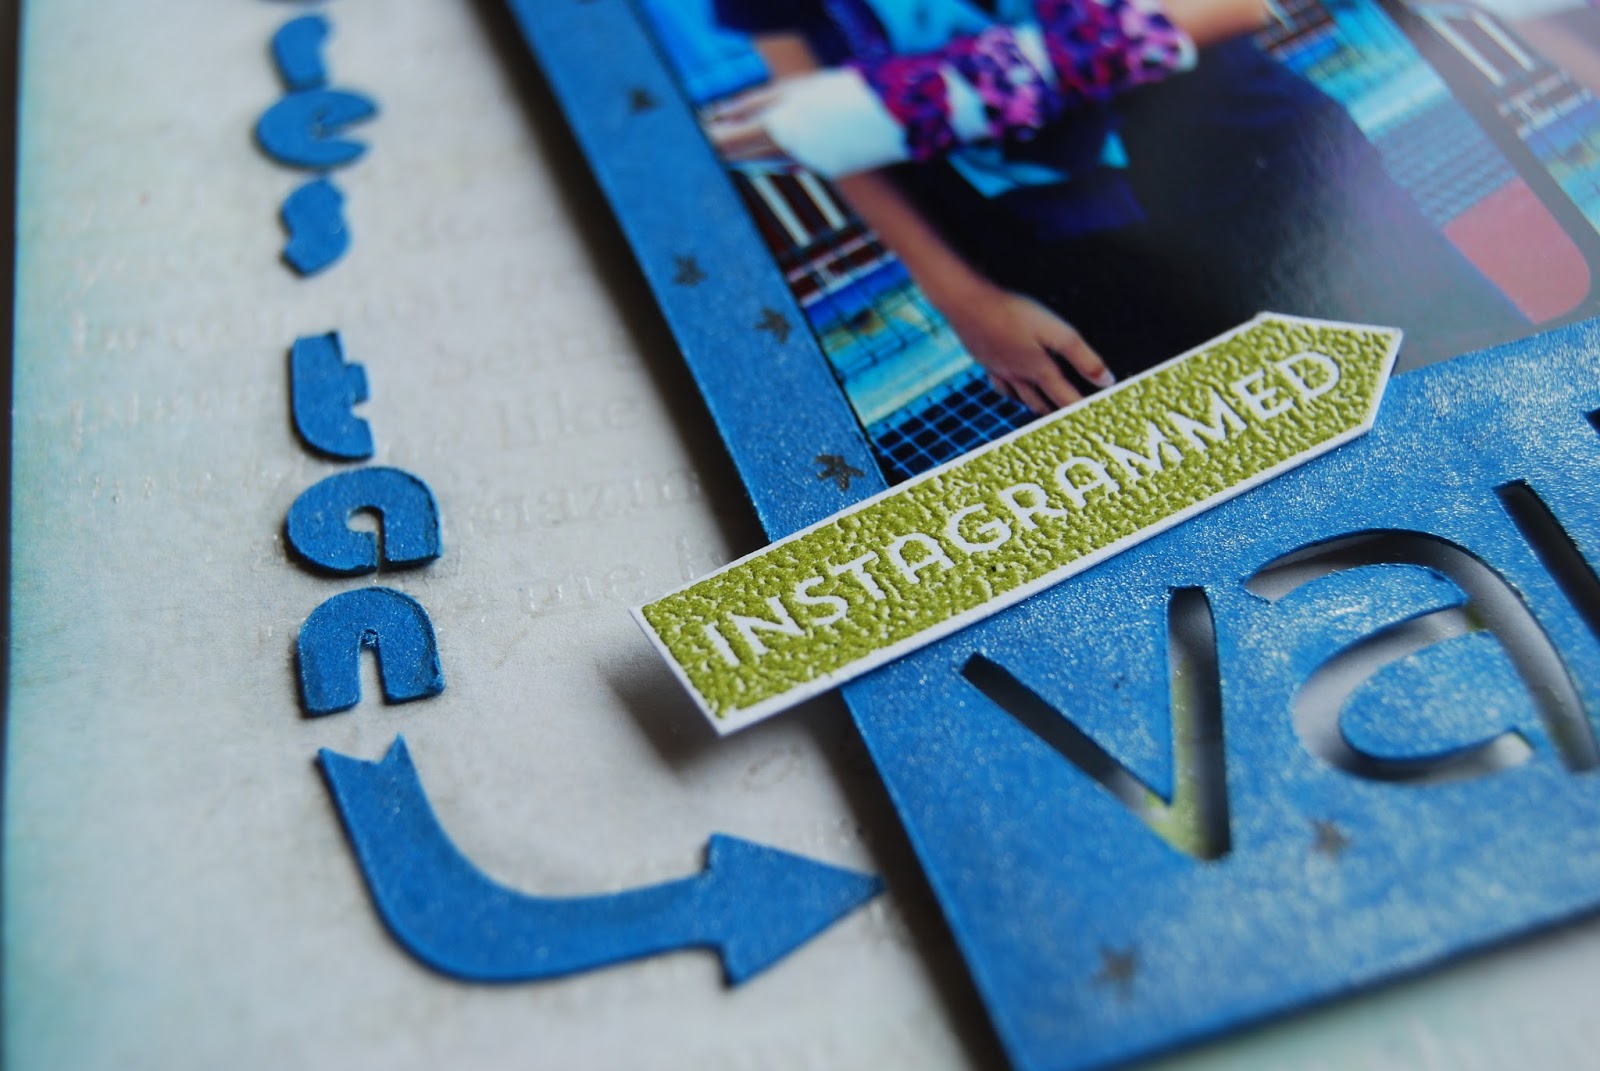
I stamped a big “you” with versamark ink and then added different colors of embossing powder to each part, to give it the same effect that Jennifer shows on her cards.
Corté algunas tiras del papel y las usé como las dos piezas que forman el panel principal, y como no tengo una herramienta de colocación de sellos en la misma posición, fijé las dos piezas juntas con cinta de carrocero. Sellé un "you" grande con tinta versamark y luego le puse diferentes colores de polvo de embossing a cada parte, para darle el mismo efecto que Jennifer muestra en sus tarjetas.

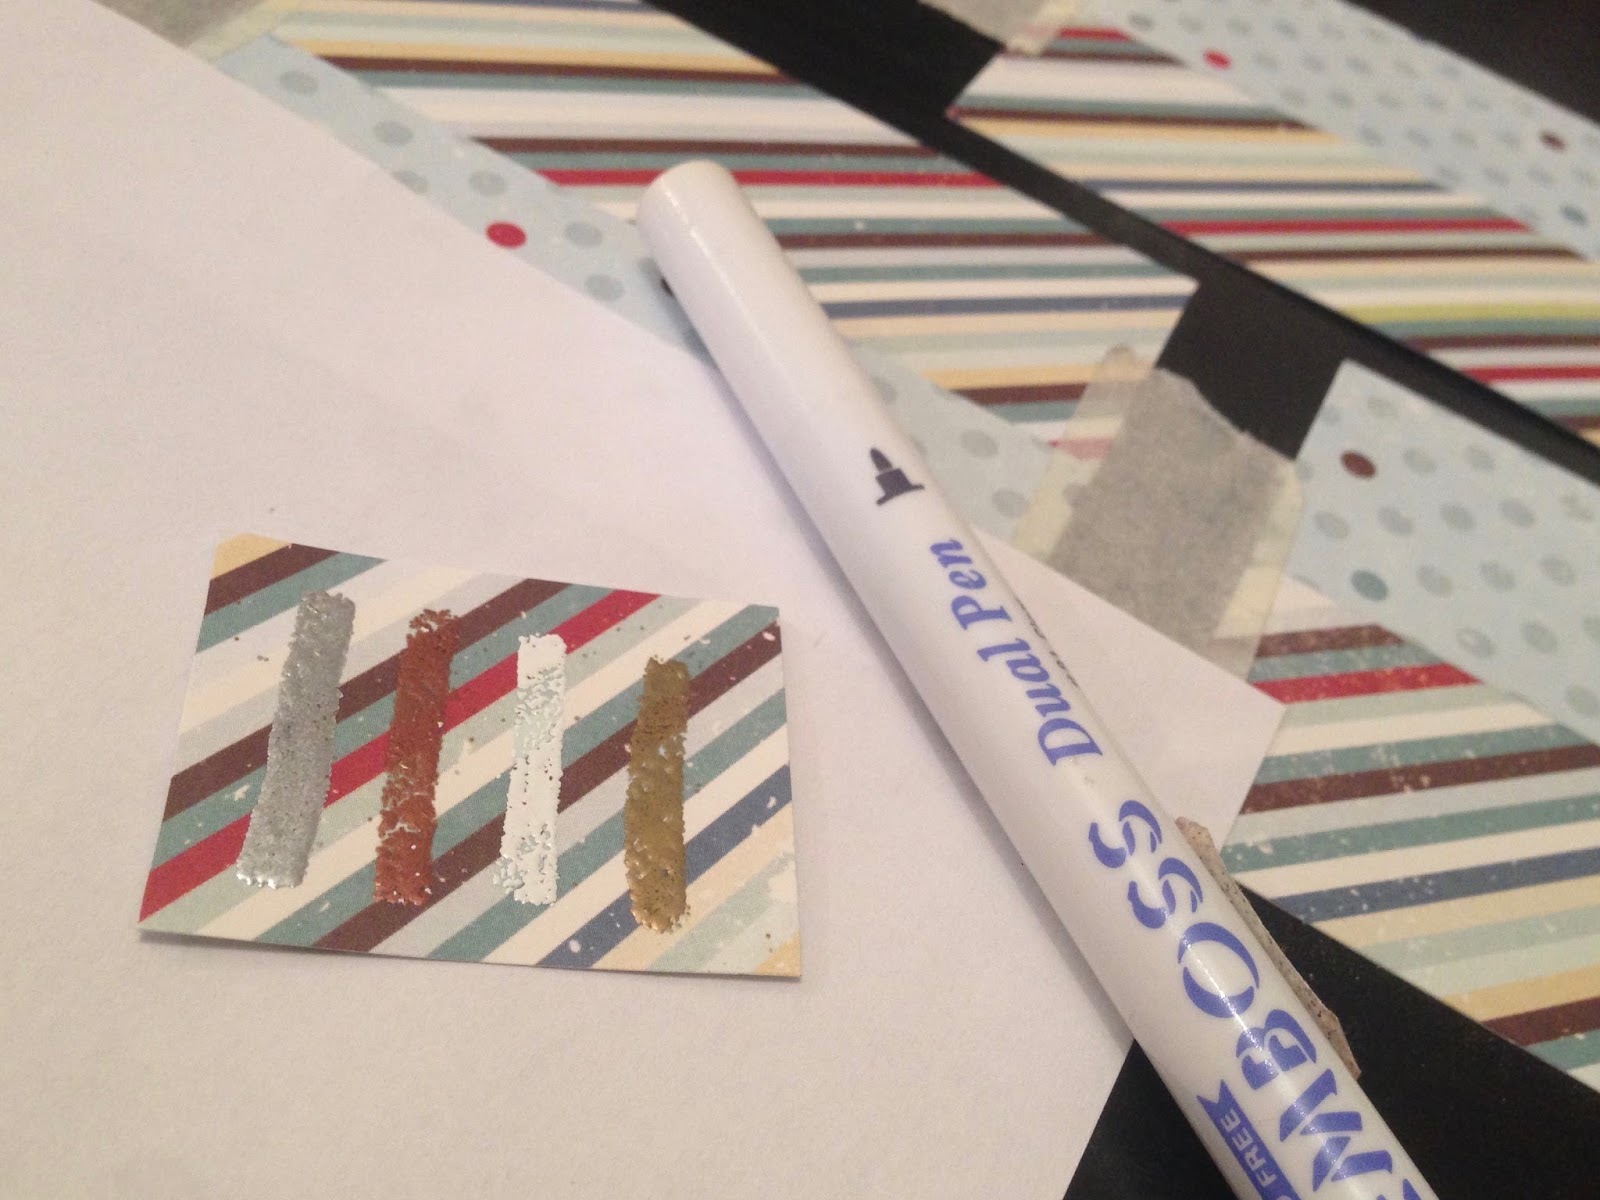
I did a test with the colors of embossing powders I have, to choose the ones that showed better on the patterned paper. I used my versamaker to draw some think lines.
Hice una pequeña prueba de colores de los polvoss de embossing que tengo, para poder escoger los que se vieran mejor sobre los diseños del papel. utilicé el versamarker para hacer unas líneas gruesas.


Then I used some tape on the back to keep the pieces together, and I found a stamp to compliment my sentiment, I had to do some masking with post-its so I would ink part of the stamp.
Le puse un poco de cinta adhesiva por la parte de atrás para unir las piezas, y encontré otro sello que completara el mensaje de la tarjeta, tuve que hacer una pequeña máscara con post-its para solo ponerle tinta a parte del sello.

Then I lightly marked where I wanted to place the panels on my card bases, to give me an idea for the placement of some snow flakes for the background, I heat embossed them with the same colors of embossing powders used on the main word "you"
Hice una marcas con lápiz donde quería colocar los paneles en las bases de las tarjetas, para darme una idea de dónde colocar los copos de nieve del fondo, los cuales hice con embossing de calor usando los mismos colores de la palabra principal "you"
Then I added some red craft foam under each panel, I wanted to give some dimension.
Le puse un goma eva roja a cada panel, para darle un poco de volumen.
I love how the red shows on the sides of the cards.
Me encanta como se ve el rojo por los lados de las tarjetas.
I added some silver sequins as embellishments.
Le agregué algunas lentejuelas plateadas para decorarlas un poco más.


Have a great day!
¡Que tengas un día genial!

SaveSave

Wednesday, October 26, 2016

Lado positivo Layout. Up & Scrap Challenge/Reto: Letra va, letra viene

I recently discovered Up & Scrap blog; my husband gave me the best birthday present ever (a cameo 3) and he got it from them, when I checked out the videos they offer to set up and learn the basics of the machine, which were very good by the way, I also saw the monthly challenges. They look very interesting so I decided to participate.
Recientemente descubrí el blog de Up & Scrap. Hace poco mi marido me hizo el mejor regalo de cumpleaños del mundo (una cameo 3) que se la compró a ellos, cuando vi los vídeos que ofrecen para configurar y aprender los conceptos básicos de la máquina, que por cierto son muy buenos, también vi los retos mensuales. Se ven muy interesantes, así que decidí participar.

October´s challenge is called "Letra va, letra viene", which literally means "Letter goes, letter comes", so it is about using lots of letters and fonts on the project. I decided to make a layout because it´s big enough to add a lot of letters and I haven´t made a LO in a while.
El reto del mes de octubre se llama "Letra va, letra viene", que implica utilizar muchas letras y fuentes en el proyecto. Me decidí a hacer un Layout porque es lo suficientemente grande como para añadir un montón de letras y además tenía mucho tiempo sin hacer uno.
So this is my LO. I made it about my daughter´s little accident, she broke her pinkie and we decided to make a list of the positive things she would get out of the stinky situation.
Y este es mi LO. Lo hice acerca del pequeño accidente de mi hija, en el que se rompió el dedo meñique y decidimos hacer una lista de las cosas positivas que podíamos sacarle a esta situación tan desagradable.

I obviously wanted to use my new cameo, so I designed a frame for my photo with the word "valiente" (brave) on the bottom part. I pop it up a bit with craft foam to give it more dimension and depth to the letters. I also used my cameo to cut out the letters on the side, arrows and hexagons.
Obviamente quería usar mi nueva cameo, hice un simple diseño de un marco para foto con la palabra "valiente" en la parte inferior. Lo levanté un poco con goma eva al pegarlo en mi LO para darle más dimensión y profundidad a las letras. También utilicé la cameo para cortar las letras laterales, flechas y hexágonos.

Since the project involves using lots of letters I went for decorating the background with letters. I stamped my base paper with a large background stamp called "you matter" from Simon Says Stamp, using Versamark ink and clear embossing powder, I wanted to make the resist technique in some areas. Then I highlighted some of the sentences using distress inks and a mini blender tool, I masked the words using post-its and after the words were visible I removed the mask and blended some more ink around.
Como el proyecto implica el uso de un montón de letras decidí que el fondo iría decorado con letras, ja!  Sellé mi cartulina base con un sello grande de fondo llamado "you matter" de Simón Says Stam con tinta Versamark y polvo de embossing transparente, quería hacer la técnica resist en algunas áreas. Entonces resalté algunas de las frases usando Distress Inks y la mini blender tool, hice una máscara para las palabras usando post-its y después que las palabras eran visibles quité la máscara y se mezclé un poco más de tinta alrededor.

You can see there are letters everywhere, some very subtle, and others are clearly showing, the intention was that they not only serve as decoration but also as messages regarding my theme.
Como se puede ver hay letras por todos lados, algunas muy sutiles, y otras se ven claramente, la intención era que no sólo sirvieran como decoración sino también como mensajes relacionados con mi tema.

For the journaling I used my daughter´s help. We made the list together and decided how to put them on the LO, and the hexagons were the winners! I used different fonts a sizes to make them more interesting. I tried to place them around the words I highlighted on the background whenever possible, so I would´t cover all of them.
Para el journaling utilicé mucha ayuda de mi hija. Hicimos la lista juntas y decidimos cómo lo íbamos a poner en el LO, ¡y los hexágonos fueron los ganadores absolutos! Usé distintas fuentes y tamaños para darles mayor interés. Los coloqué tratando que se vieran las palabras o frases que había destacado del fondo, en la medida posible, y así no taparlas todas.

Some hexagons are glued flat on the background and others are raised a bit with craft foam.
Algunos hexágonos los pegué directamente en el fondo y otros están un poco elevados con goma eva.

The title letters I got them in a dollar store many years ago. I added some Wink of Stella Silver Glitter Pen to make it shine a bit and to tone down the brown color that didn´t go so well with the rest of the design.
Las letras del título las compré en una tienda tipo chinos, o dollar store, hace muchos años. Le puse por encima Wink of Stella Silver Glitter Pen, que le da brillo y me sirvió para bajar el tono de color marrón que no iba tan bien con el resto del diseño.

Here I give you more photos to see all the details.
Aquí te muestro más fotos para que veas todos los detalles. 


Have a great day!
¡Que tengas un día maravilloso!

Wednesday, October 19, 2016

Unicorn Birthday Card

 The project I'm sharing today is the card that I made for my niece who was turning six years old. I knew I had the perfect stamp set with this one that I got from Simon Says Stamp as a birthday present for me (the set is called: Magical Birthday), with a unicorn and a rainbow I knew it was a perfect match for a little girl, since she is not such a girly girl I decided to color the unicorn blue and green.
El proyecto que voy a compartir hoy es una tarjeta que hice para mi sobrina que estaba cumpliendo seis años. Sabía que tenía el set de sellos perfecto para el proyecto con éste que SimonSays Stamp me envió como regalo de cumpleaños para mí (el set se llama: Magical Birthday), con un unicornio y un arco iris sabía que era una combinación perfecta para una niña, pero como ella no es una chica de colores rosa decidí pintar el unicornio de azul y verde. 

I love making shaker cards and this was the perfect opportunity to make one, children love them! 
I started by stamping and heat embossing with silver embossing powder the unicorn and the rainbow, I stamped the images twice just in case I made a mistake but they both came out well so I ended up making two cards. 
Me encanta hacer tarjetas “Shaker” y esta era la oportunidad perfecta para hacer una porque a los niños les encanta.
Empecé por sellar y poner porlvo plateado de embossing para el unicornio y el arco iris, estampé las imágenes dos veces por si acaso me equivocaba, pero ambas salieron bien, así que acabé haciendo dos tarjetas.
 I painted the images with watercolor pencils and a paint brush, and after they were dried I added some wink of Stella are clear brush pen, they look really shimmery and sparkly when they catch the light.
The only difference between the cards is the hills that I cut out of some scrap patterned paper. 
Pinté las imágenes con lápices de acuarela y un pincel, y después de que se secaron añadí un poco de wink of Stella are clear brush pen, se ven muy relucientes y brillantes cuando les da la luz.
La única diferencia entre las tarjetas son las Colinas, que las corté de restos de papel estampado que tenía por ahí.

 The sentiment is also from the same stamp set and I mixed a little bit of colors, I did part of the sentiment with black distress ink and then added some clear embossing powder; the happy birthday part I did it with the same silver embossing powder I used for the images.
El mensaje también es del mismo conjunto de sellos, mezclé un poco de colores, hice parte del mensaje con tinta negra Distress y luego le puse un poco de polvo de embossing transparente; la parte de “happy birthday” lo hice con el mismo polvo plateado que utilicé para las imágenes.
 I'm really happy with the results and even more with my niece's face when she saw the card and started shaking it, and the best part is that now she's into unicorns and I didn't even know about it, that gave me extra credits ;)
Estoy muy contenta con los resultados y más aún con la cara de mi sobrina cuando vio la tarjeta y comenzó a moverla, y la mejor parte es que ahora ella está en la etapa que le encantan los unicornios y yo ni siquiera lo sabía, así que gané más puntos ;)
Have a great day!
¡Que tengas un día maravilloso!
SaveSave

Thursday, June 2, 2016

Happy Hello, Dani´s card

This is the card my daughter made a while ago, at the time I only uploaded the video where she shows how she made the card, so here I show you some more shots of her beautiful card. You can see the original post with the video HERE.
Esta es la tarjeta que hizo mi hija hace un tiempo, en ese momento solo subí el video donde nos explicaba cómo la hizo, así que aquí muestro unas fotos de su linda tarjeta. Puedes ver el post original con el video AQUÍ.
I love how she learned the technique and made it her own, like she always new how to do it.
Me encanta como aprendió la técnica y la hizo suya, como si siempre hubiera sabido hacerlo.

Have a wonderful day ;)
Que tengas un día maravilloso ;)

Thursday, May 5, 2016

Get well soon card

My daughter and I made these cute cards for her friends. She had 4 injured friends at school, 3 are from her basketball team.
Mi hija y yo hicimos unas tarjetas para sus amigas. Tiene 4 amigas del colegio con lesiones, y 3 de ellas son de su equipo de baloncesto.
I stamped the band-aids for the backgrounds and my daughter colored them with watercolor pencils. Since we were in a rush to create 4 cards, we kept the design pretty simple. We stamped and heat embossed the sentiment, then raised the panel, sentiment and birdie with craft foam.
Estampamos las tiritas para los fondos y mi hija los coloreó con lápices de acuarelas. Como teníamos un poco de prisa para hacer 4 tarjetas, hicimos un diseño bastante sencillo. Para el mensaje lo estampamos e hicimos embossing con calor, y luego le dimos dimensión al panel central,  al mensaje y al pajarito con goma eva.
Very quick and simple, but cute and meaningful for her friends.
We used a cute stamp set by Lawn Fawn called Get Well Soon.
Rápidas y sencillas, pero muy lindas y muy apreciadas por sus amigas.
Utilizamos un set de sellos de Lawn Fawn llamado Get Well Soon.

Monday, April 25, 2016

Watercolor, heat embossing and sewing on a card

A few months ago I made some cards for my daughter´s teachers HERE. I had some left overs and I got to make another one.
Hace unos meses hice unas tarjetas para los profesores de mi hija AQUI. Tenía algunas sobras que me permitieron hacer otra tarjeta más.
The process of making this card is so much fun...some ink smooching, sewing and heat embossing.
I really love this color combo.
El proceso para hacer esta tarjeta es muy divertido...la técnica de ink smooching, coser y embossing con calor.
Me encanta esta combinación de colores.
I hope you like it ;)
Espero que te guste ;)

Thursday, April 21, 2016

Let It Shine online class, lesson 3


Today´s homework is about embellishment. So I used some sequins and some leaves die cut out of glitter paper.
La tarea de hoy es sobre `embellishment´los adornos finales. Así que utilicé lentejuelas y hojas troqueladas con papel de purpurina.
 I needed to make some cards for a couple of Christenings and another couple for First Communions, so I gave it a try using some ideas from this class.
Necesitaba hacer un par de tarjetas para bautizo y otro par para primeras comuniones, así que decidí probar con algunas ideas de esta clase.
 I did some ink blending with distress ink for a little color on the background, but on one of the pink cards I did a more watercolor look.
Con tintas distress hice el color del fondo un poco difuminado, y en una de las tarjetas rosa le hice el fondo con estilo acuarela.
Here are some photos of the details.
Aquí hay fotos de los detalles.


Have a great day!
¡Qué tengas un día genial!