
Today I bring another card I made to keep working with my certification with Altenew, AECP. They offer many classes at their website which are really nice, I have taken a few classes over last few years but now I decided to go with the full certification. I`m already more than halfway of the first level. Yeah!!!
¡Hola todos!
Hoy traigo otra tarjeta que hice para seguir trabajando para mi certificación con Altenew, AECP. Ofrecen muchas clases en su sitio web que son realmente agradables, he tomado algunas clases en los últimos años, pero ahora decidí ir con la certificación completa. Ya estoy a más de la mitad del primer nivel.
As the post´s title suggests the class I made these cards for is all about die cutting. “Easy die cutting techniques” class is led by Yana Smakula, I was very happy to be in a class with her as I have been following her for quite a few years. She showed many creative ways to use dies in cardmaking. I like the fact that it got me thinking out of the box, not only stamping and die cutting the images, but using the negative side, inlay technique, etc.
Como sugiere el título de esta entrada, la clase para la que hice estas tarjetas se trata de troquelar. Yana Smakula es la encargada de impartir “Easy die cutting techniques”. Me encantó estar en una clase con ella, ya que la he venido siguiendo durante varios años. Mostró muchas formas creativas de usar troqueles en la creación de tarjetas. Me gusta el hecho de que me hizo pensar creativamente, no solo estampar y troquelar las imágenes, sino también usar el lado negativo, la técnica de incrustación, etc.

After the class I experimented using my dies in many different ways, and this is what these classes are all about, giving us that spark for our creativity.
Después de la clase, experimenté usando mis troqueles de muchas maneras diferentes, y de eso se tratan estas clases, de darnos esa chispa para nuestra creatividad.

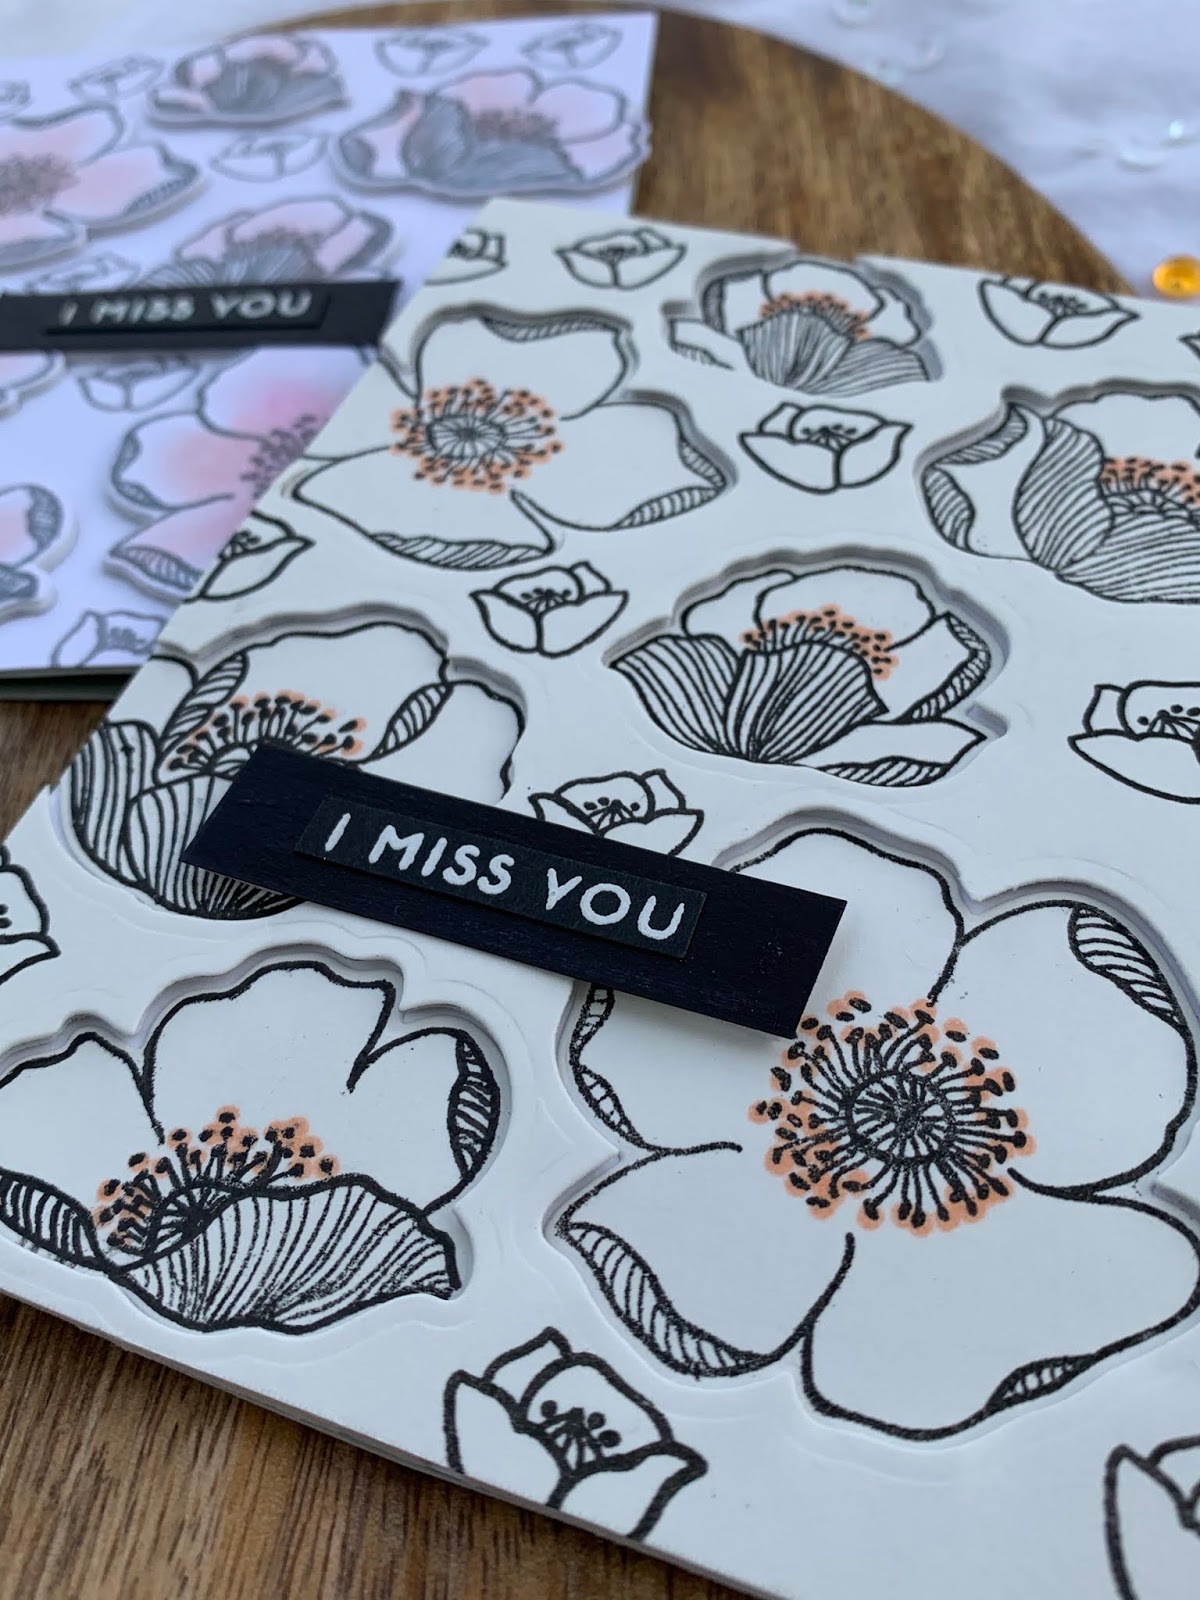
For my cards today I used the inlay technique, I got the Adore You stamp set and placed most of the flowers in my stamp positioner to fill the whole front of a card panel, I stamped the 2 backgrounds, grey for card 1 and black for card 2.
Para mis tarjetas de hoy, utilicé la técnica de “inlay”, con el set de sellos “Adore You” coloqué la mayoría de las flores en mi posicionador de sellos para llenar todo el frente de un panel de tarjetas, hice 2 fondos, con gris para la tarjeta 1 y negro para la tarjeta 2.

I lightly colored the images, just a tiny bit of watercolor for the grey flowers and a few dots with copic markers for the black ones. I didn´t want lots of color as the background was going to be too busy.
Coloreé ligeramente las imágenes, solo un poquito de acuarela para las flores grises y algunos puntos con marcadores copics para las negras. No quería mucho color ya que el fondo iba a estar demasiado cargado.

Then I die cut all the big flowers for both panels. I also die cut all the flowers from white fun foam, and I kept al the pieces, positive and negative parts of the die cutting.
Luego troquelé todas las flores grandes para ambos paneles. También corté todas las flores de goma eva blanca y guardé todas las piezas, partes positivas y negativas del troquelado.

For card 1, I assembled the whole project by raising the flowers with the fun foam, so they are in the same place they were when I stamped them but with some dimension.
Para la tarjeta 1, armé todo el proyecto levantando las flores con las piezas troqueladas de goma eva, las coloqué en el mismo lugar que cuando las sellé, pero con cierta dimensión.
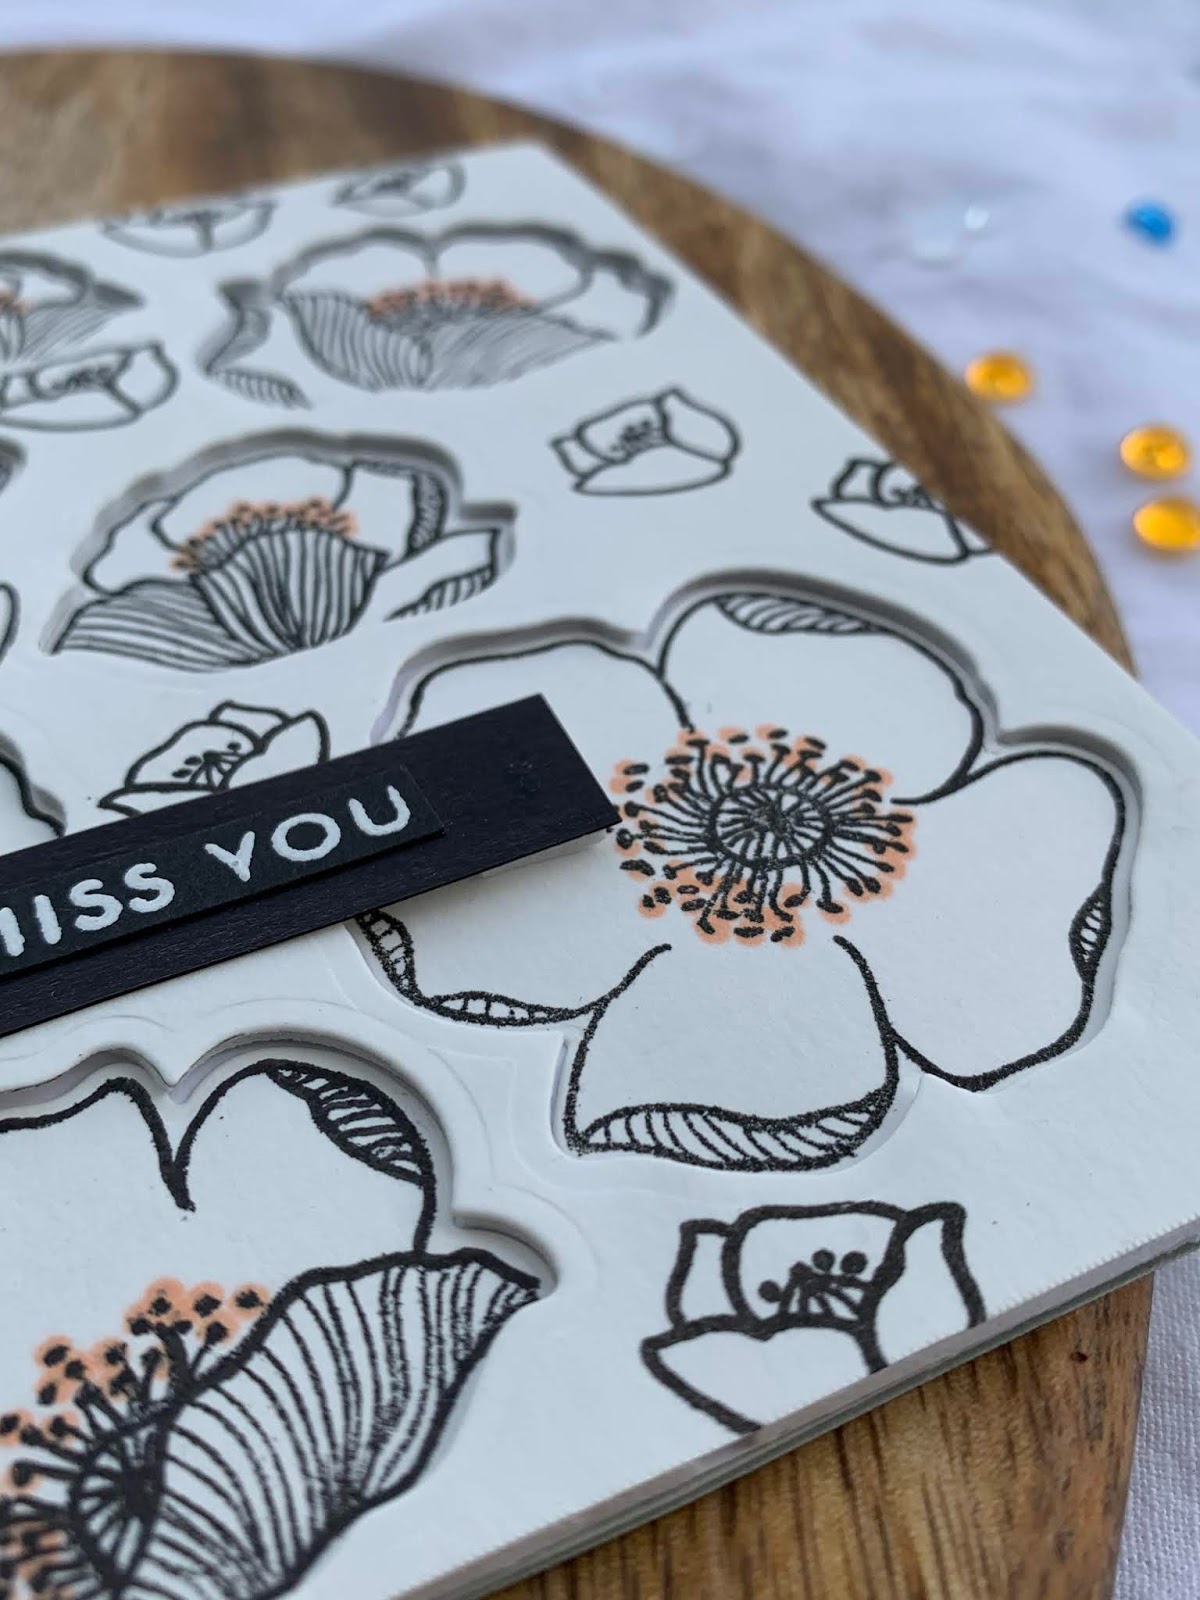
For card 2 I used the negative side of the fun foam, so the panel is raised, and the flowers are set back. I thought it was kind of crazy at first, but then I really loved the effect it gives to the card. This process required way more work because there are some areas where the flowers are close to each other and I needed to trim the foam a lot, it was like making a puzzle, only that I was cutting and forcing the pieces to fit.
Para la tarjeta 2 utilicé el lado negativo de la goma eva, por lo que el panel se levanta y las flores quedan hacia el fondo. Al principio pensé que era un poco loco, pero luego me encantó el efecto que le da a la tarjeta. Este proceso requirió mucho más trabajo porque hay algunas áreas donde las flores están cerca unas de otras y necesitaba cortar mucho la goma, era como hacer un rompecabezas, solo que estaba cortando y forzando a las piezas a encajar.

The sentiment is from the “Painted Butterflies” stamp set, I keep using the sentiments from this set over and over again. I thought that during this time of quarantine I needed to make some “I miss you” cards. I wanted small sentiments to be able to show most of the flowers.
El mensaje es del set de sellos "Painted Butterflies", sigo usando los sentimientos de este set una y otra vez. Pensé que durante este tiempo de cuarentena necesitaba hacer algunas tarjetas de "Te extraño". Quería pequeños mensajes para poder mostrar la mayoría de las flores.
I hope you like them and that I gave you some ideas, or at least I make you wanna go create something. Have a wonderful day!
Espero que te hayan gustado y que te haya dado algunas ideas, o al menos te haga querer ir a crear algo. ¡Qué tengas día genial!


Love them!
ReplyDeleteLove both the looks! I am glad you did two opposite looks, shows so much variation.
ReplyDeleteThank you so much for entering your work to the AECP assignment gallery.