Saturday, October 4, 2014

Carolyn Peeler workshop

A couple of weeks ago I had the pleasure of taking 3 workshops with Carolyn Peeler at Bambola Casa Creativa. She is an awesome teacher and the girls at Bambola are excellent hostesses. 
It was great meeting new people and dedicate time to my passion.
Hace un par de semanas tuve el placer de tomar 3 talleres con Carolyn Peeler en Bambola Casa Creativa. Ella es una profesora increíble y las chicas de Bambola son unas excelentes anfitrionas.
Fue genial conocer gente nueva y dedicar tiempo a mi pasión.


My dear friend Cata was the translator for all the workshops and I helped a bit with her gorgeous daughter, Sara, as she joined all the classes.
Mi querida amiga Cata fue la traductora para todos los talleres, y yo estuve ayudando un poco con su guapísima hija Sara, que estuvo con nosotras en todas las clases.


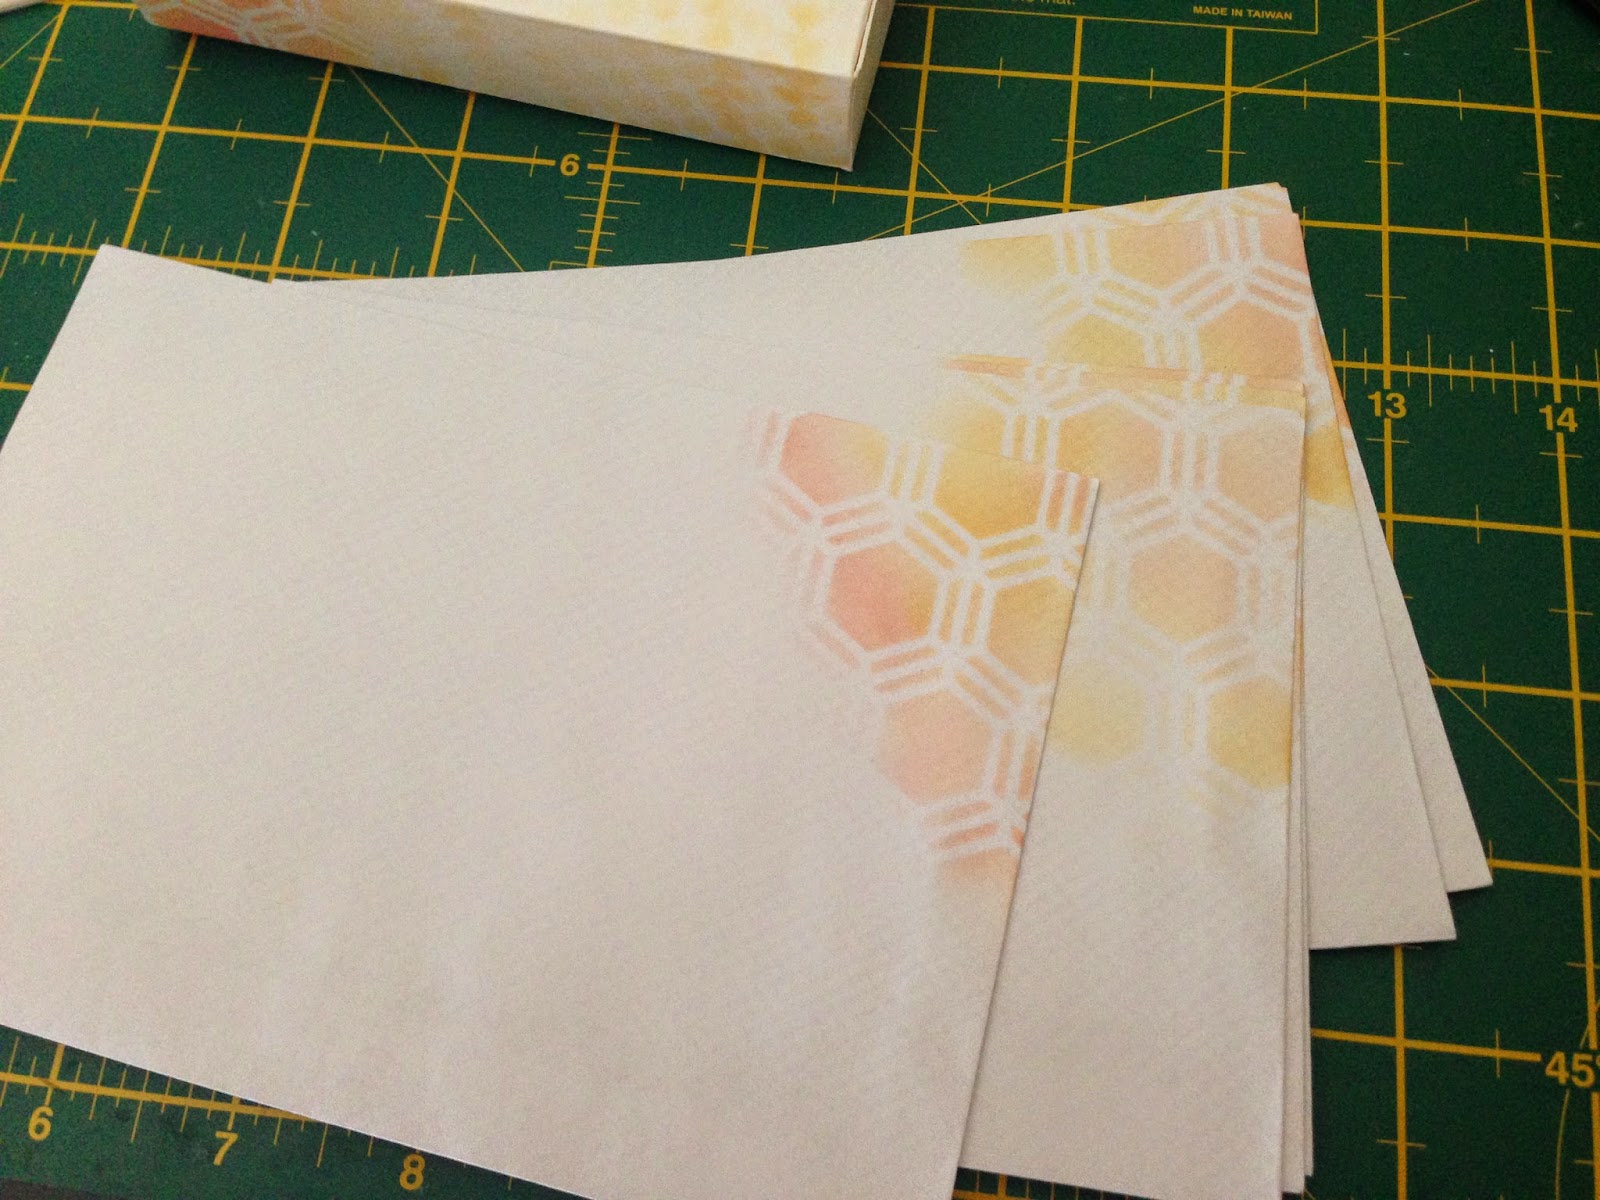
On the first day we made cards. They were simple to make but with that cute Carolyn style. Later on, I made a few more cards with the rest of the materials from the kit.
El primer día hicimos tarjetas. Eran fáciles de hacer, pero con ese estilo lindo Carolyn . Luego hice unas cuantas más con el resto de los materiales del kit.


On the next day we made a pocket scrapbooking album, I didn't have pictures to add but I enjoyed cutting and deciding what pattered paper I wanted to use. It's going to look awesome when I add pictures and journaling...and embellishments.
Al día siguiente hicimos un álbum scrapbooking de bolsillos, yo no tenía fotos para agregar pero me gustó cortar y decidir cuales papeles quería utilizar. Se va a ver increíble cuando agregue fotos y journaling ... y adornos.


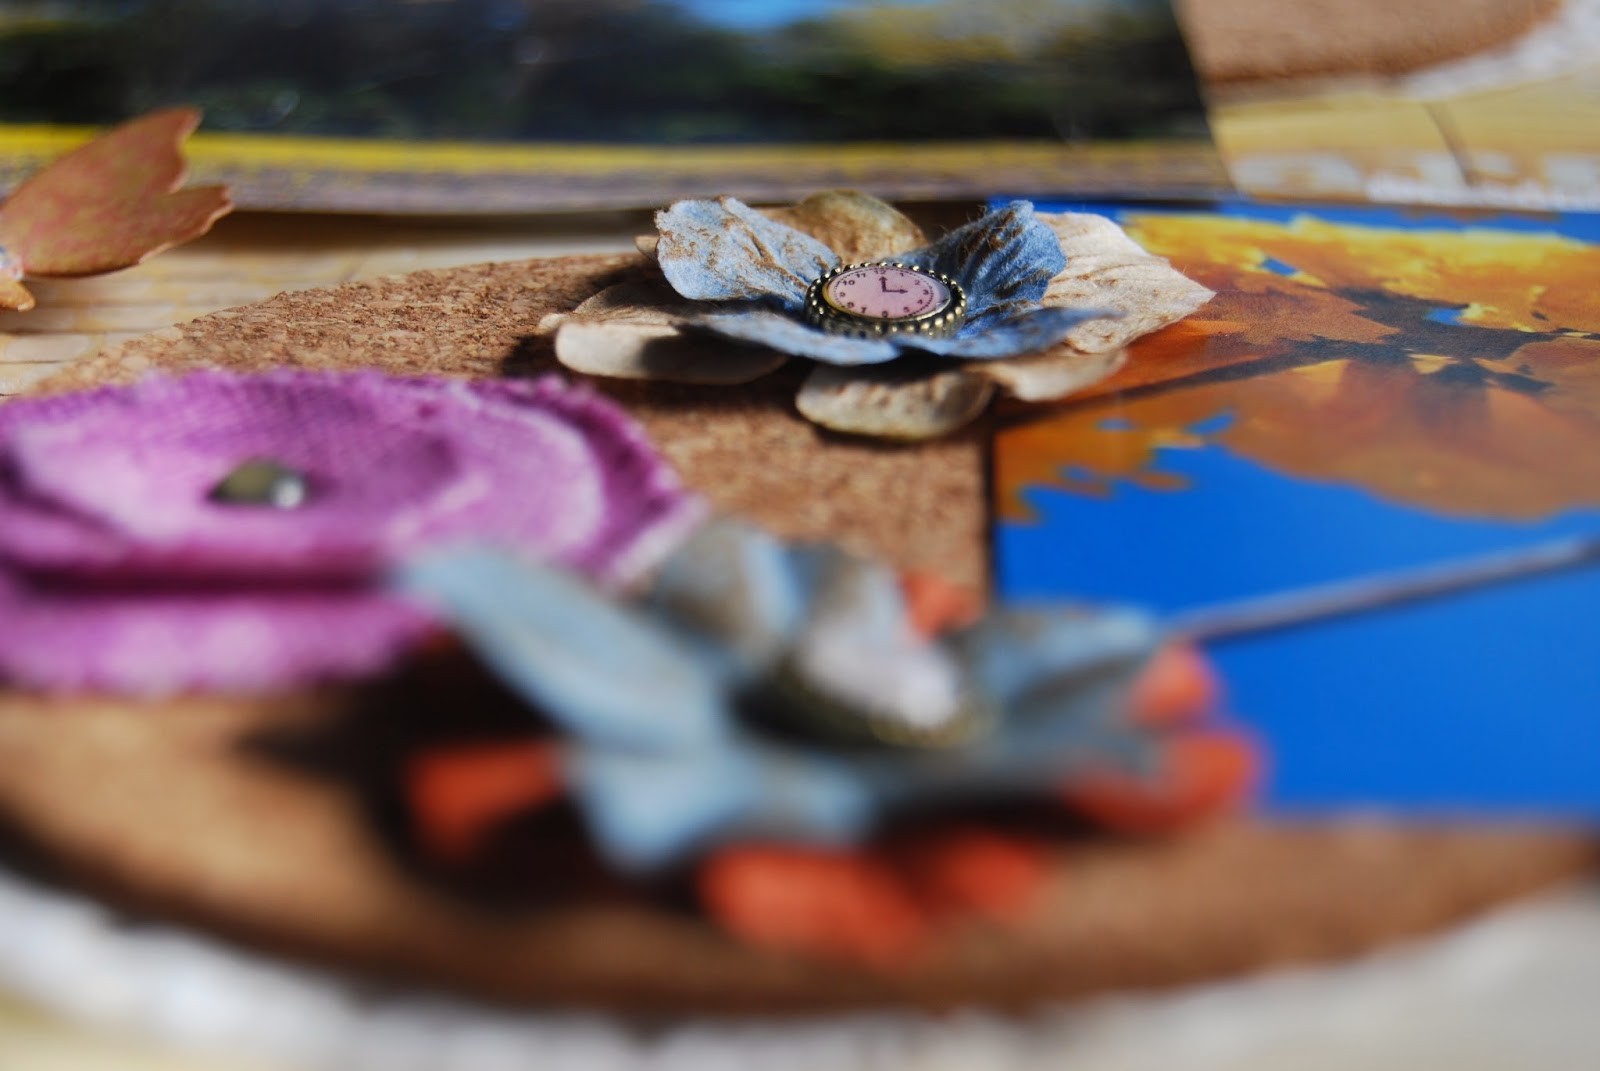
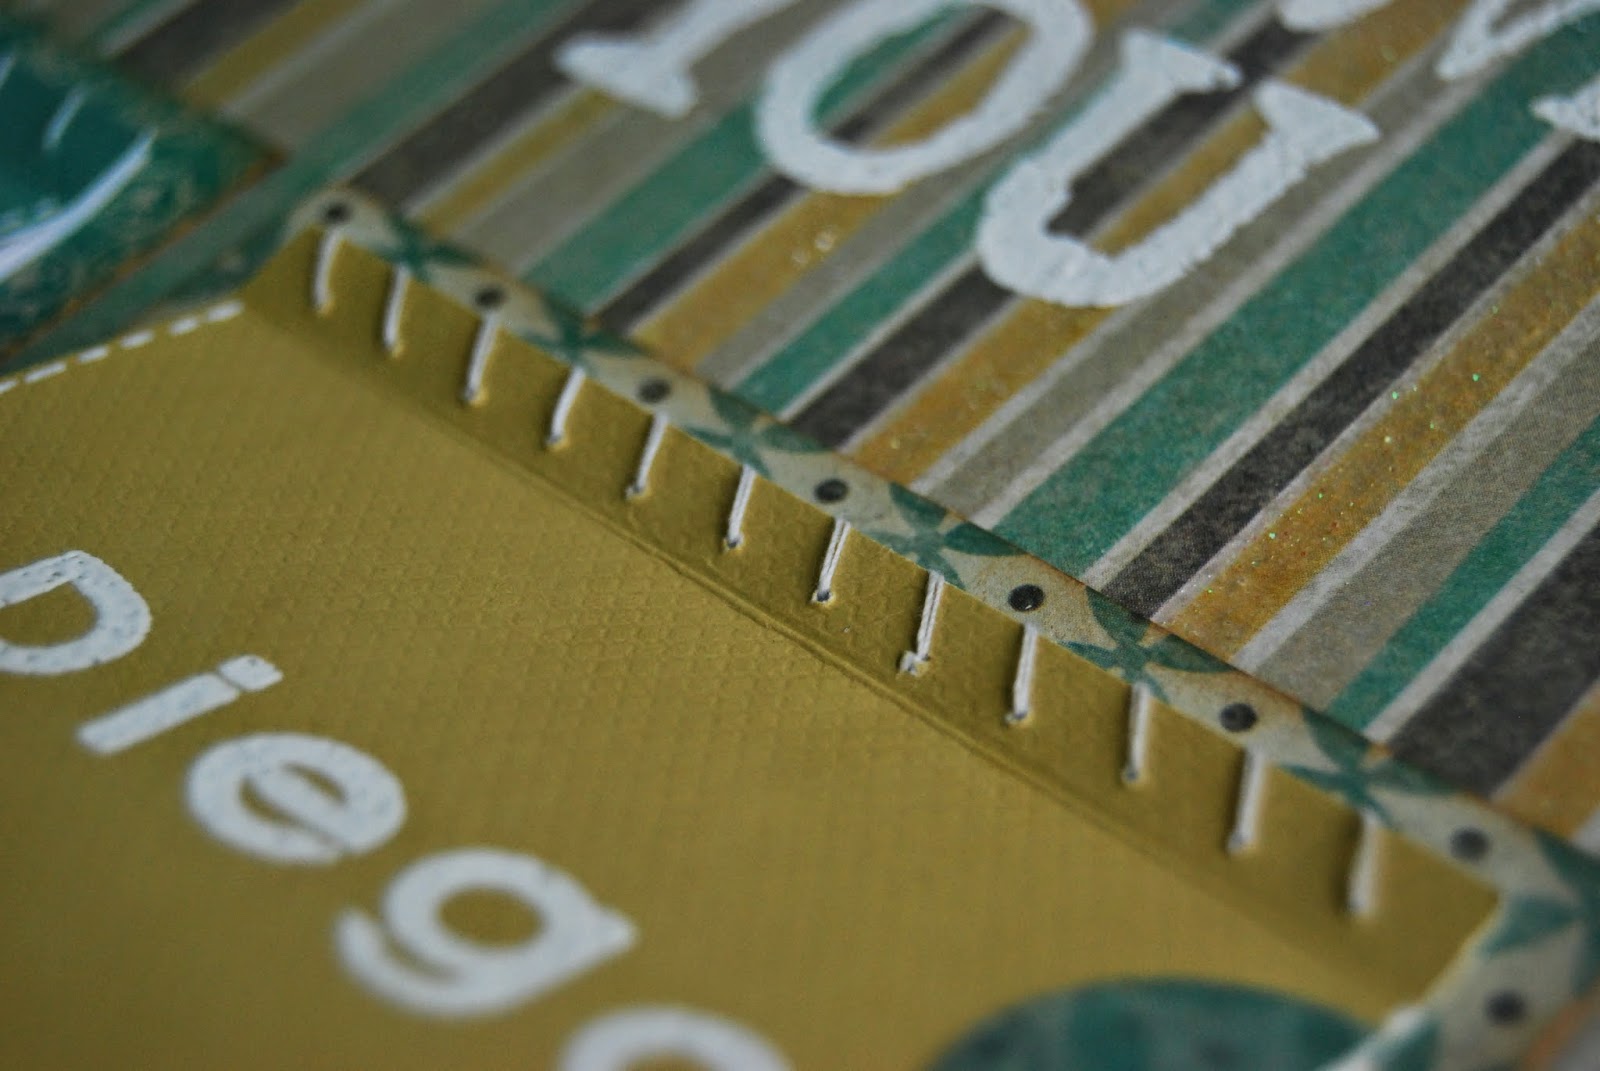
On the last workshop we made a book from scratch. We worked on a kind of binding I've never done before. Now I need to add some quotes and stamps to some pages. Carolyn suggested to use it as an art journal, to try techniques and different media.
En el último taller hicimos un libro desde de cero. Trabajamos en un tipo de encuadernado que yo nunca había hecho. Ahora tengo que añadir algunas citas y sellos a algunas páginas. Carolyn sugirió utilizarlo como un art journal, para probar técnicas y diferentes materiales.


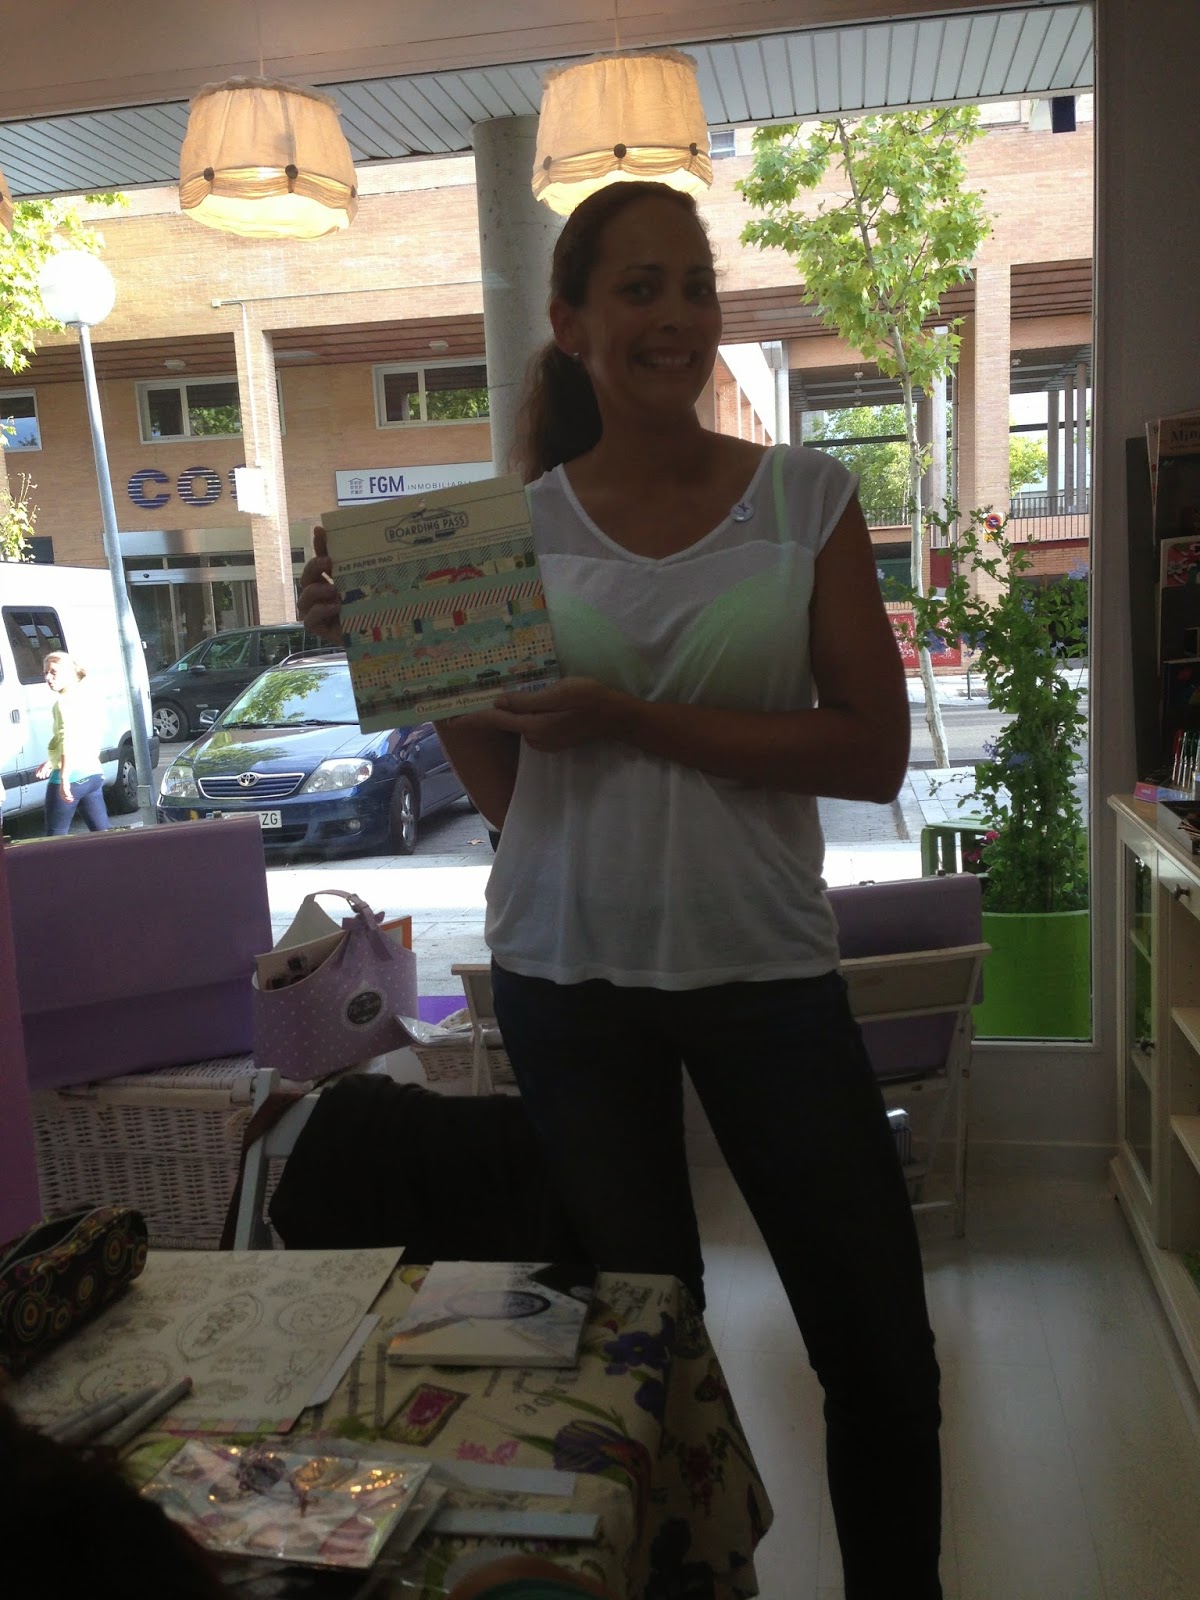
During each workshop there was a raffle for some yummy products; and the best part is that I won in ALL three. The whole group had to laugh and gave me a "hard" time for winning all the time.
Durante cada taller hubo una rifa de algunos productos espectaculares; y la mejor parte es que gané en las tres. Todo el grupo se echó a reír y se metían conmigo por haber ganado todo el tiempo.


It was an awesome weekend!
!Fue un fin de semana genial!


Monday, June 2, 2014

Matching box for set of cards

I made a matching box for the set of cards I made a while ago. You can see those cards here
Hice una cajita que combina con el set de tarjetas que hice hace un tiempo. Las tarjetas se pueden ver aquí.

 I started by creating the same kinds of patterns using the same colors and stencils I used on the cards on a big piece of card stock.  On both sides.
Comencé por crear los mismos diseños con los mismos colores en una cartulina grande. En ambas caras.


 I also decorated the envelopes the same way.
También decoré los sobres de la misma manera.
 And some ribbon...
Y un poco de cinta...


Monday, May 26, 2014

Cards: stencil faded backgrounds


I'm making some card sets and wanted to use my new stencils. I wanted an easy card so I could mass produce it, so I used a sketch I found on Pinterest that caught my eye. It's from Studio Calico.
So here are some shots of the making process.
Estoy haciendo varios sets de tarjetas, y quería utilizar mi esténciles nuevos. Quería hacer una tarjeta bastante fácil para poder producirla en masa, así que utilicé un sketch que encontré en Pinterest que me llamó mucho la atención. Es de Studio Calico.
Aquí muestro varias fotos del proceso para hacerlas.


Saturday, May 17, 2014

Card: Enjoy your special day

I needed to make a card for my mother in law, so we could send it on time for her birthday.
I started with a craft card stock cut to a standard A2 size card. I masked the borders with masking tape. Then I stamped a scene of flowers and leaves using a very old stamp set (Buzz and Bloom 2006 65) and Doodle Flowers by Inkadinkado, with Staz-on black ink.
Tenía que hacer una tarjeta para mi suegra, para poder enviarla a tiempo para su cumpleaños. 
Empecé con una cartulina craft cortada para hacer una tarjeta de tamaño estándar A2. Cubrí los bordes con cinta de pintor. Luego sellé una escena de flores y hojas usando un set de sellos muy viejo (Buzz y Bloom 2006 65) y  Doodle Flowers por Inkadinkado, con tinta negra Staz-on.
 Then I chose some pattern papers from the August 2012 Simon Says Stamp Card kit and stamped some of the same flowers I stamped on my card base, I wanted to do some paper piecing.
Después elegí unos papeles decorados del kit the tarjetas de Simon Says Stamp, August 2012 y sellé algunas de las mismas flores que puse en la base de mi tarjeta, quería hacer "paper piecing".
 I die cut some leaves using a new die I bought in the Nethelands, it's from Craftables.
I stuck some of the flowers flat on the card.
Corté unas hojas con un troquel nuevo que compré hace poco en Holanda, es de Craftables. 
Pegué algunas flores planas en la tarjeta.
 I used foam take to pop up 3 of my main flowers.
Utilicé adhesivo de foamy para darle altura a las 3 flores principales.
I stamped the sentiment and cut it out like a tag and attached it with some string. The sentiment is from Bo Bonny and the set it's called Sentiment Stamps.
I added a white frame, it came in one of the Ikea small picture frames and I didn't use it, I kept it because I knew this passepartout would be handy at some point. I let some elements hang out of the frame to give it more interest.
Sellé el mensaje de la tarjeta y lo corté como si fuera una etiqueta y lo pegué con un poco de cuerda. El sello es de Bo Bonny y el conjunto se llama Sentiment Stamps. 
He añadido un marco blanco, venía en uno de los marcos pequeños de Ikea y no lo usé, lo guardé porque sabía que este passepartout sería útil en algún momento. Dejé que algunos elementos salieran sobre el marco para darle más interés.
 And here is the result.
Y aquí está el resultado.
 We managed to sent it to my mother in law on time, well....it got there a couple if days late :(
Casi logramos que le llegara a tiempo a mi suegra...bueno, con un par de días de retraso :(
I hope you like it ;)
Espero que les guste ;)

Monday, April 21, 2014

Araguaney

 This is a layout I made about a tree called "Araguaney". It is the national tree in Venezuela.
Esta es una página que hice sobre un árbol llamado Araguaney. Es el árbol nacional de Venezuela.
 This was a commission I got from some friends to decorate their Cafe. I made all the pictures they have at the Cafe a few years ago and they wanted to add an Araguaney as that's the name of their place. Antojos Araguaney Gourmet.
Here you can see the posts about those pictures: post 1, post 2, post 3, post 4, post 5.
Este trabajo fue un encargo que me hicieron unos amigos para decorar su Café. Hace unos años hice los cuadros para decorar el Café y querían que agregáramos otro de un Araguaney ya que ese es el nombre de su Café: Antojos Araguaney Gournet.
Aquí se pueden ver los posts con los cuadros que hice hace un tiempo: post 1post 2post 3post 4post 5
 It looks really cool in the frame.
Se ve muy bien enmarcado.


Wednesday, April 9, 2014

40th bday Card

I made this card for my hubby's 40th birthday. I'll see him tomorrow and finally we"ll be able to celebrate his big (not too big) 40th birthday ;)
I'm loving all these watercolors techniques.
I saw this "quote" on pinterest and wanted to use it on my card. I hand-wrote the sentiment because I wanted a very distressed look. I white heat embossed the letters then I wet the area where I wanted the colors and added the watercolor overlapping them a bit.
Hice esta tarjeta para el cumpleaños 40 de mi marido. Lo voy a ver mañana y por fin podremos celebrar su gran (no tan grande) cumpleaños número 40 ;)
Estoy enganchada a todas estas técnicas de acuarelas. 
Encontré esta "cita" en Pinterest y quería usarla en mi tarjeta. Escribí a mano el mensaje porque quería mostrar un estilo casual. Hice embossing blanco para las letras y luego mojé la zona donde quería los colores, y comencé a agregar las acuarelas, superponiendo los colores un poco.

Tuesday, April 8, 2014

40 things we love about you


Today is my husband's 40th birthday. My kids and I wanted to make something extra special for him. He's away right now so we mailed his present a few days ago to his colleague so he could receive it exactly today. 
Hoy es el cumpleaños número 40 de mi marido. Mis hijos y yo queríamos hacerle algo muy especial. Él está lejos en este momento, así que le enviamos por correo el regalo hace unos días a su colega, para que lo pudiera recibir hoy.

We made a chart where we wrote 40 things we love about him. So my daughter wrote 10 things, my son wrote 10 more, I wrote 10 and we all agreed on 10 more that were common to all.
Hicimos una especie de cuadro donde  escribimos 40 cosas que nos encantan de él. Así que mi hija escribió 10 cosas, mi hijo escribió 10 más , yo escribí 10 y todos estuvimos de acuerdo en 10 más que eran comunes a todos.
I love the handwriting and decorations the kids added to their list. He's going to love it!
Me encanta la escritura a mano y decoraciones que los niños agregaron a sus listas. A mi marido le va a encantar!

I used a paper pad from We R Memory Keepers, called Down the boardwalk, to make it easy when matching colors, I chose the more masculine ones.  
He utilizado una colección de papeles estampados, de We R Memory Keepers,  llamada “Down the boardwalk” para hacer más fácil la combinación de colores, elegí los que eran un poco más masculinos.
I cut my base a bit smaller than a letter size paper so I could put it in an envelope to mail it. Then cut the covers of the "notebooks" and distressed the edges a bit with distress inks.
Corté mi base un poco más pequeña que una hoja tamaño carta para que pudiera ponerlo en un sobre para enviarlo. Luego, corté las portadas de los "cuadernos " y le puse un poco de tinta Distress Inks a los bordes.
I white heat embossed the title and names on the covers of each notebook using a mixture of stamp sets.
El titulo y los nombres de las cubiertas de los cuadernillos los hice con embossing de color blanco. Los hice con una mezcla de sellos.

For the words "love" and "you" I used a special stamp set from Hero Arts, Epic Love, and masked some parts of the stamps to get only what I needed.
Para las palabras "love" y "you" usé un set de sellos muy especial: Hero Arts Epic Love;  tuve que cubrir algunas partes de los sellos para sellar sólo lo que necesitaba.
I made 4 little notebooks for each 10 things list. So we could write our 40 things we love about him, one per page. I hand-stitched  each notebook to embellish them a bit.
Hice 4 pequeños cuadernos para cada lista de 10 cosas . Así podríamos escribir nuestras 40 cosas que nos encantan de él , una por página. Le agregué un detalle de cosido a mano a cada cuadernillo.
Then I glued down the little notebooks and punched two holes on the top... Added a couple of eyelets and ribbon. And voila!
Luego pegué los cuadernillos e hice dos agujeros en la parte superior... He añadido un par de ojales y las cintas. Y voilá!
Supplies: