Showing posts with label family. Show all posts

Saturday, July 29, 2017

LO Forever Happy. Challenge/Reto


I made this LO to participate in another challenge. It´s been a while since I worked on a layout, it was kind of fun and interesting trying to put it together for the challenge. This time the challenge is from In The Scrap, and this is the July edition.
Hice este LO para participar en otro reto. Llevo un buen tiempo sin hacer un LO, fue muy interesante y divertido por fin hacer uno con este reto. Esta vez el reto es de In the Scrap, y esta es la edición de julio.


The theme is "sequence" and it sounded very interesting to me. I had many ideas and even took some photos: my son throwing a frisbee to our dog, then the running part, finally the catch in midair... I didn't have time to print the photos...So when I was about to give up on this challenge because of the dead line I found this silly pictures of my daughter and I that I had printed last year.
El tema es "secuencia" y me sonó muy interesante. Me vinieron miles de ideas a la cabeza y hasta hice varias fotos: mi hijo lanzando un frisbee a nuestro perro, corriendo a atraparlo, y cuando lo atrapa en pleno aire...pero no tuve tiempo de imprimir las fotos...Así que cuando estaba a punto de rendirme porque ya la fecha límite estaba muy cerca encontré estas fotos locas de mi hija y yo que había impreso el año pasado.


I started pulling out some papers, then put them back, then out again... until I finally found the things I liked.
Comencé a sacar papeles, guardarlos nuevamente, sacarlos otra vez...hasta que conseguí lo que me gustaba.

I used different collections and brands, I mixed whatever I found with the colors or style I was working with, there are things that I´ve had for more than 10 years in my stash, like the blue background paper or the chipboard frame.
Utilicé distintas colecciones y marcas, mezclé cualquier cosa que iba encontrando que combinara con los colores y estilo que estaba trabajando, hay cosas que usé que las tengo desde hace más de 10 años, como el papel azul del fondo y el marco de chipboard.

Have a great day!
¡Que tengas un día genial!
SaveSaveSaveSave

Wednesday, May 31, 2017

Leftover papers card by Dani + Video

Today I have a cute card made by Daniela. She asked me to make the process video to show how easy you can make a card using your scraps.
Hoy tengo una linda tarjeta hecha por Daniela. Ella me pidió que hiciera un video del proceso para mostrar lo lo fácil que es hacer una tarjeta usando retazos o restos de papel.


She made the whole design and card, and she even came up with the sentiment: You can always shine. Which I think is really cute. I really like what she made, how she did it and above all how well she explains everything.
Ella hizo todo el diseño y la tarjeta, hasta se inventó el mensaje: siempre puedes brillar. Es adorable! Me encanta lo que hizo, cómo lo hizo, y sobretodo, lo bien que explica.


I don´t think I will be able to give this card away, maybe to my mom or my mother in law, I´d like to keep it ;)
Yo no creo que pueda regalar esta tarjeta, quizás a mi madre o a mi suegra, me encantaría quedármela ;)

I hope you liked it and it that we gave you some ideas or inspiration to create something pretty.
Espero que te haya gustado y que te hayamos dado algunas ideas o inspiración para ponerte a crear cositas lindas.

Sunday, March 19, 2017

Mixed Media Album with process video


After taking Ana Bondu´s workshops last February I wanted to keep creating, my hands were ready to get really inky (or painty, or gluey)
Después de tomar los talleres de Ana Bondu en febrero quedé con muchas ganas de seguir creando, mis estaban listas para llenarse de tinta, o pintura...o pegamento...

For a while I´ve been telling myself I need to use what I have, there are so many great new products and new collections, and I always fall in love with everything (I know I'm not alone on this :) but I can't keep buying stuff...So when I sat to make something, I found some old pictures I wanted scrap, and found some old mini album kits, that I´ve had for around 10 years waiting to the "perfect" occasion to use them. So the decision was made, some pictures of my kiddos playing with their cousins and a kit with different materials for the album pages and rings.
Then I worked with what I had on hand, actually what I had on my desk from my previous projects.
I worked over several days as I had little time, but I was able to make a video to show the process of how I work.
Llevo ya tiempo diciéndome a mi misma que tengo que usar los materiales que tengo, hay tantos productos nuevos y colecciones, y siempre me enamoro de todas (sé que no estoy sola en esto :) pero no puedo seguir comprando y comprando. Así que cuando me senté a crear algo, encontré algunas fotos que había impreso para scrapear, y también encontré unos kits de mini albums que he tenidos guardados durante unos 10 años esperando el momento "perfecto" para usarlos. Así que la decisión estuvo fácil, las fotos de mis peques jugando con sus primos y el kit con páginas de diferentes materiales y anillos para hacer un álbum.
Luego trabajé con lo que tenía a la mano, realmente con lo que tenía en mi mesa de proyectos anteriores. Trabajé durante varios días porque no tenía mucho tiempo, pero pude ir grabando videos para poder mostrar el proceso de cómo trabajo.

I hope the video gives you some ideas or inspiration to get creating.
Espero que este video te dé algunas ideas o instigación para ponerte a crear.


Here I show you more still shots to see more details of my album.
Aquí muestro más fotos de los detalles del álbum.


Have a great day.
Que tengas un día estupendo.

Friday, February 10, 2017

Hello There, Party Invitation Cards- Tips for mass producing Video


Hello there!
That´s the sentiment for my party invitation cards: Hello there. Today I´m sharing a video of the process to mass produce cards, I made 24 invitation cards for my daughter´s party. Hopefully the video will give you some tips that save time when making many cards at a time and also get some ideas for a cute design.

Hello there!
Este es el mensaje de mis tarjetas de invitación: Hello There. Hoy estoy compartiendo un video del proceso para producir tarjetas en cantidades grandes, hice 24 tarjetas de invitación para la fiesta de mi hija. Espero que el video te dé algunos consejos que ahorrar tiempo al hacer muchas tarjetas a la vez y también algunas ideas para un lindo diseño.


 I wanted to include lots of techniques for this cards because I know my daughter´s friends would appreciate something very special. So I did some ink blending with a stencil, heat embossing, sewing, a little bit of vellum... I even decorated the envelopes and each card has their name printed on the inside.

Quería incluir diferentes técnicas en las tarjetas porque sé que las amigas de mi hija apreciarían algo tan especial. Así que hice un poco de "blending" de tinta con una plantilla, embossing de calor, costuras, un poco de papel cebolla... Hasta decoré los sobres y cada tarjeta tiene impreso el nombre de casa niña en el interior.


I hope you like it, have a nice day :)
Espero que te guste y que tengas un día fenomenal :)
SaveSave

Wednesday, October 26, 2016

Lado positivo Layout. Up & Scrap Challenge/Reto: Letra va, letra viene

I recently discovered Up & Scrap blog; my husband gave me the best birthday present ever (a cameo 3) and he got it from them, when I checked out the videos they offer to set up and learn the basics of the machine, which were very good by the way, I also saw the monthly challenges. They look very interesting so I decided to participate.
Recientemente descubrí el blog de Up & Scrap. Hace poco mi marido me hizo el mejor regalo de cumpleaños del mundo (una cameo 3) que se la compró a ellos, cuando vi los vídeos que ofrecen para configurar y aprender los conceptos básicos de la máquina, que por cierto son muy buenos, también vi los retos mensuales. Se ven muy interesantes, así que decidí participar.

October´s challenge is called "Letra va, letra viene", which literally means "Letter goes, letter comes", so it is about using lots of letters and fonts on the project. I decided to make a layout because it´s big enough to add a lot of letters and I haven´t made a LO in a while.
El reto del mes de octubre se llama "Letra va, letra viene", que implica utilizar muchas letras y fuentes en el proyecto. Me decidí a hacer un Layout porque es lo suficientemente grande como para añadir un montón de letras y además tenía mucho tiempo sin hacer uno.
So this is my LO. I made it about my daughter´s little accident, she broke her pinkie and we decided to make a list of the positive things she would get out of the stinky situation.
Y este es mi LO. Lo hice acerca del pequeño accidente de mi hija, en el que se rompió el dedo meñique y decidimos hacer una lista de las cosas positivas que podíamos sacarle a esta situación tan desagradable.

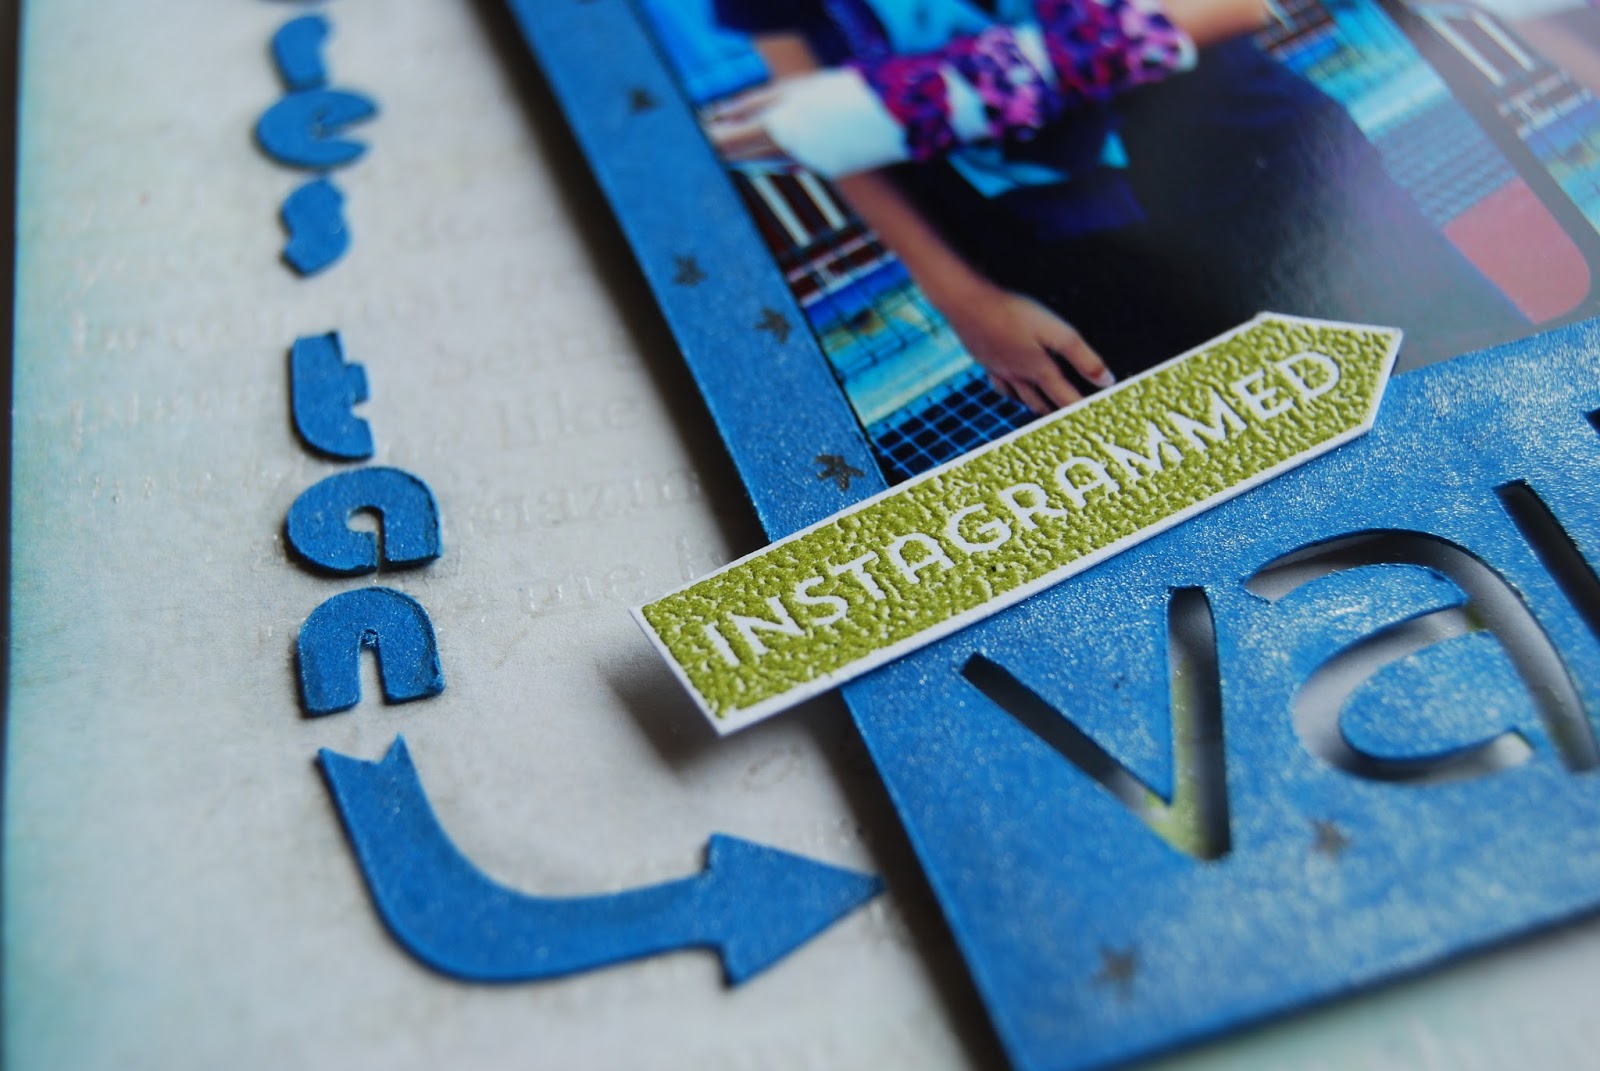
I obviously wanted to use my new cameo, so I designed a frame for my photo with the word "valiente" (brave) on the bottom part. I pop it up a bit with craft foam to give it more dimension and depth to the letters. I also used my cameo to cut out the letters on the side, arrows and hexagons.
Obviamente quería usar mi nueva cameo, hice un simple diseño de un marco para foto con la palabra "valiente" en la parte inferior. Lo levanté un poco con goma eva al pegarlo en mi LO para darle más dimensión y profundidad a las letras. También utilicé la cameo para cortar las letras laterales, flechas y hexágonos.

Since the project involves using lots of letters I went for decorating the background with letters. I stamped my base paper with a large background stamp called "you matter" from Simon Says Stamp, using Versamark ink and clear embossing powder, I wanted to make the resist technique in some areas. Then I highlighted some of the sentences using distress inks and a mini blender tool, I masked the words using post-its and after the words were visible I removed the mask and blended some more ink around.
Como el proyecto implica el uso de un montón de letras decidí que el fondo iría decorado con letras, ja!  Sellé mi cartulina base con un sello grande de fondo llamado "you matter" de Simón Says Stam con tinta Versamark y polvo de embossing transparente, quería hacer la técnica resist en algunas áreas. Entonces resalté algunas de las frases usando Distress Inks y la mini blender tool, hice una máscara para las palabras usando post-its y después que las palabras eran visibles quité la máscara y se mezclé un poco más de tinta alrededor.

You can see there are letters everywhere, some very subtle, and others are clearly showing, the intention was that they not only serve as decoration but also as messages regarding my theme.
Como se puede ver hay letras por todos lados, algunas muy sutiles, y otras se ven claramente, la intención era que no sólo sirvieran como decoración sino también como mensajes relacionados con mi tema.

For the journaling I used my daughter´s help. We made the list together and decided how to put them on the LO, and the hexagons were the winners! I used different fonts a sizes to make them more interesting. I tried to place them around the words I highlighted on the background whenever possible, so I would´t cover all of them.
Para el journaling utilicé mucha ayuda de mi hija. Hicimos la lista juntas y decidimos cómo lo íbamos a poner en el LO, ¡y los hexágonos fueron los ganadores absolutos! Usé distintas fuentes y tamaños para darles mayor interés. Los coloqué tratando que se vieran las palabras o frases que había destacado del fondo, en la medida posible, y así no taparlas todas.

Some hexagons are glued flat on the background and others are raised a bit with craft foam.
Algunos hexágonos los pegué directamente en el fondo y otros están un poco elevados con goma eva.

The title letters I got them in a dollar store many years ago. I added some Wink of Stella Silver Glitter Pen to make it shine a bit and to tone down the brown color that didn´t go so well with the rest of the design.
Las letras del título las compré en una tienda tipo chinos, o dollar store, hace muchos años. Le puse por encima Wink of Stella Silver Glitter Pen, que le da brillo y me sirvió para bajar el tono de color marrón que no iba tan bien con el resto del diseño.

Here I give you more photos to see all the details.
Aquí te muestro más fotos para que veas todos los detalles. 


Have a great day!
¡Que tengas un día maravilloso!